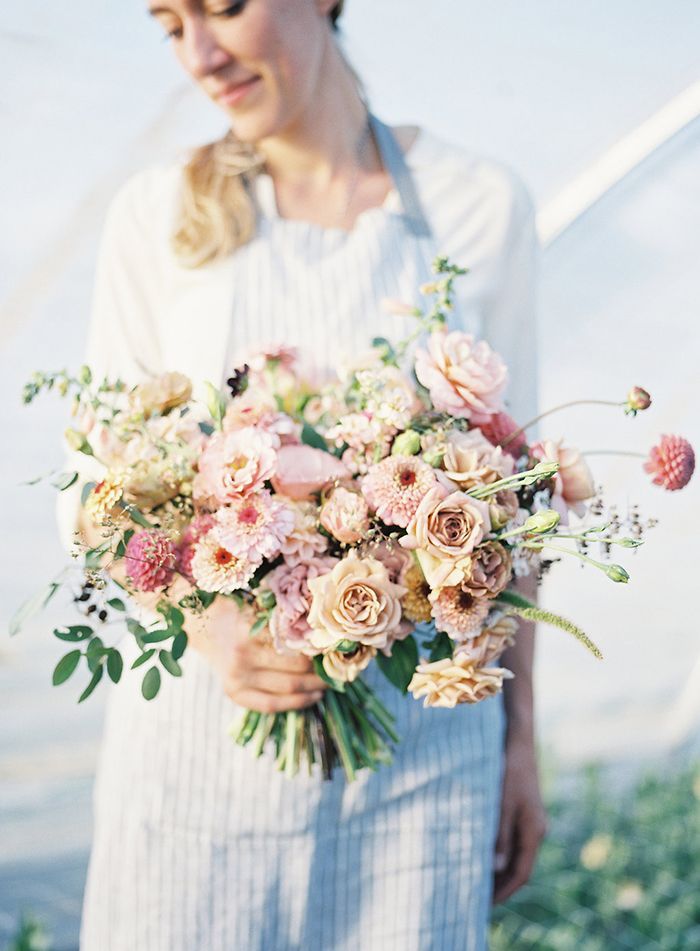

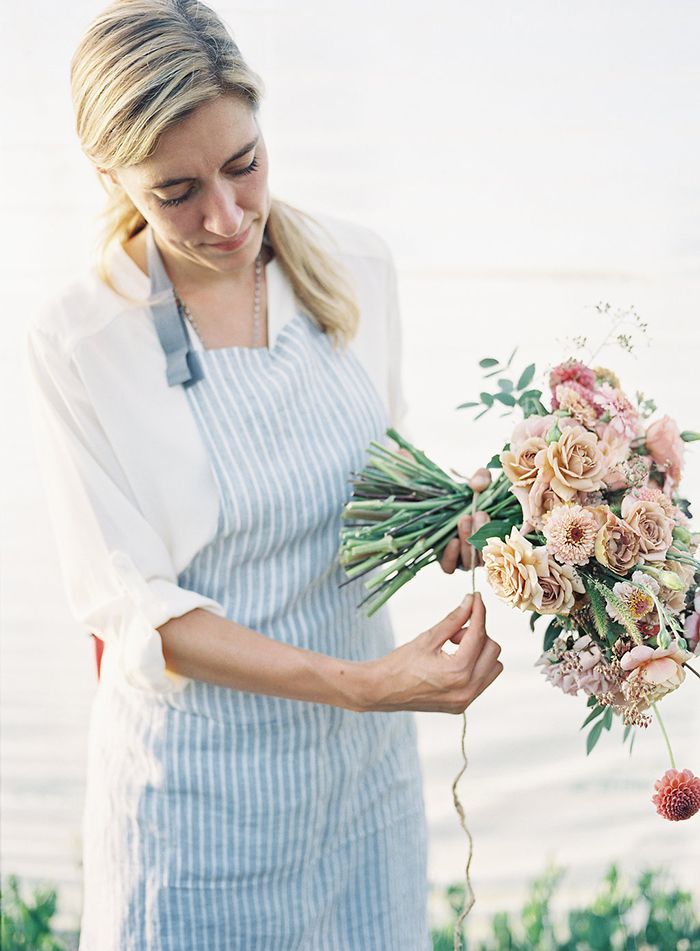
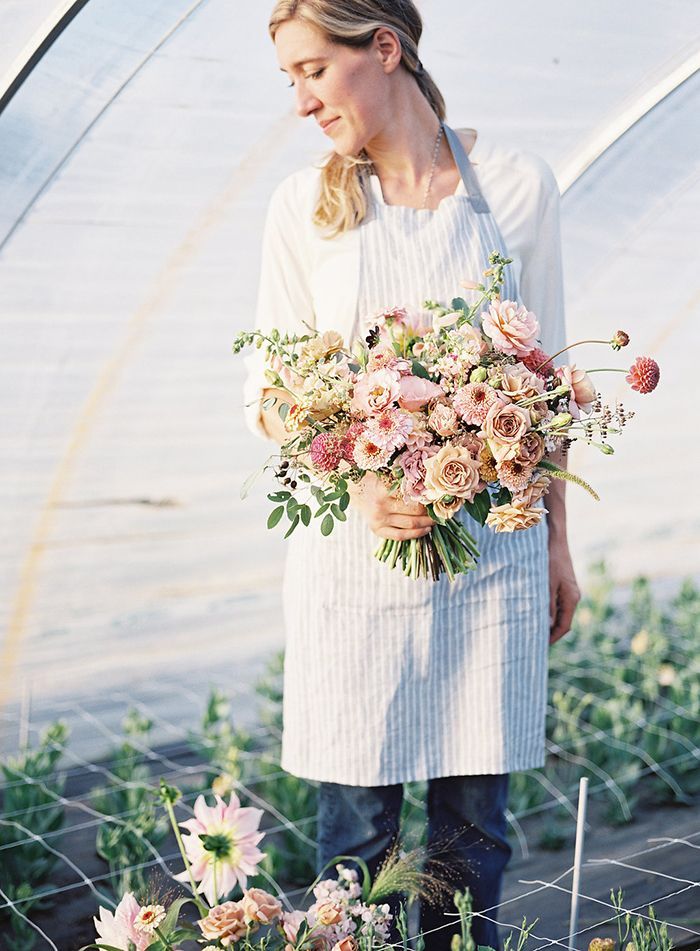
Lush, asymmetrical, garden-style bouquets are coveted by today’s brides. Thanks in part to the renaissance of small flower farms and the popularity of the seasonal flower movement, the availability of locally-grown blooms continues to expand. Here, Erin Benzakein of Floret, demonstrates how to make a hand-tied bridal bouquet with seasonal flowers. As both a flower farmer and floral designer, Erin specializes in crafting fresh-from-the-garden designs that make brides swoon.
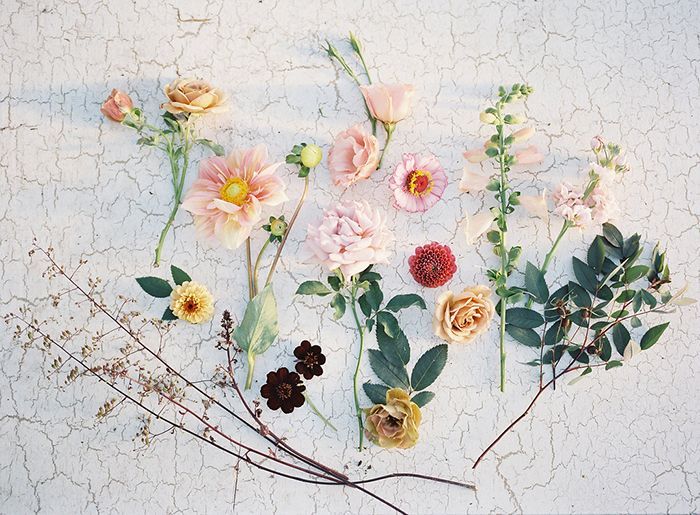
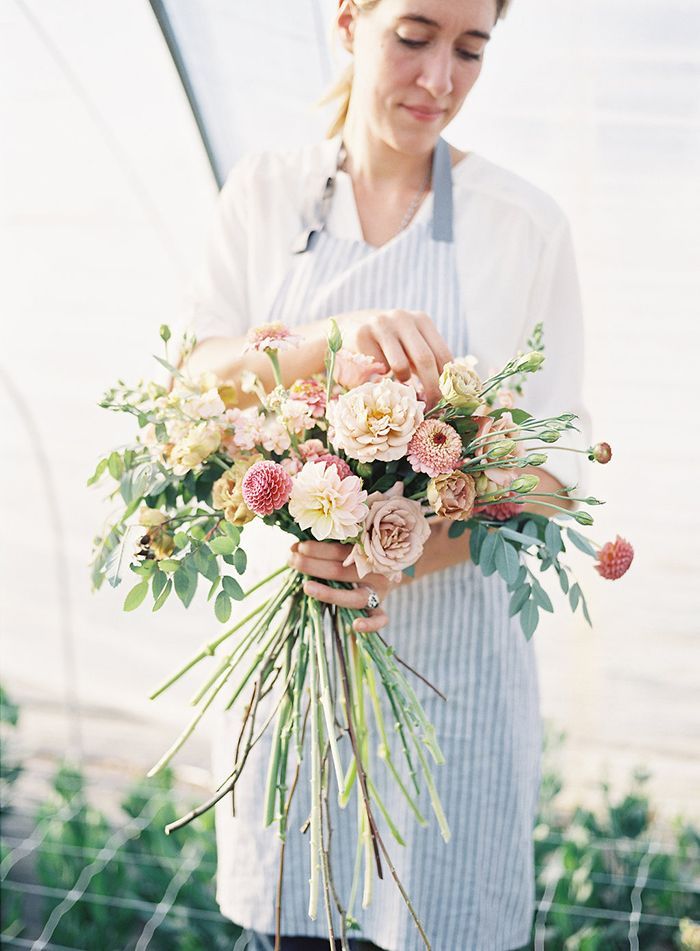
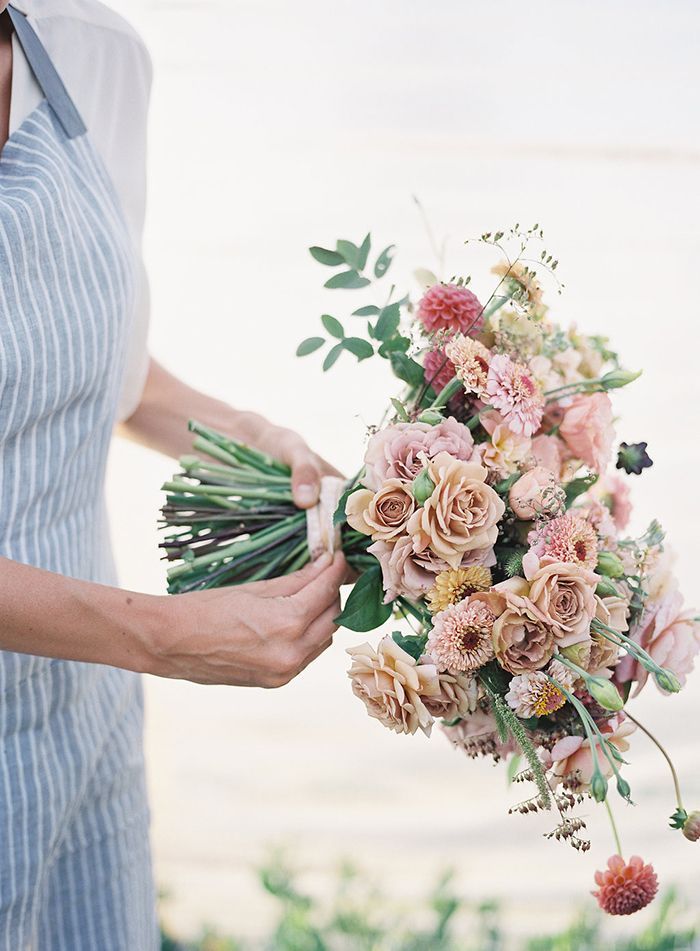
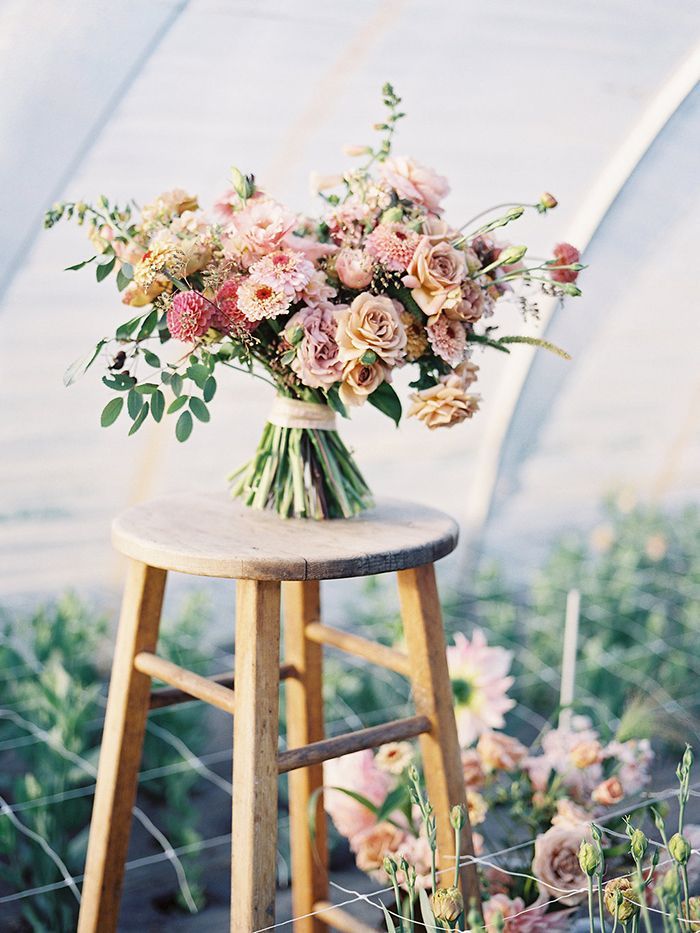
Bouquet ingredients include: garden roses, dahlias, lisianthus, zinnia, foxglove, stock, rose foliage, chocolate cosmos and heuchera.
Here are Erin’s tips for creating gorgeous garden-inspired bouquets with seasonal flowers:
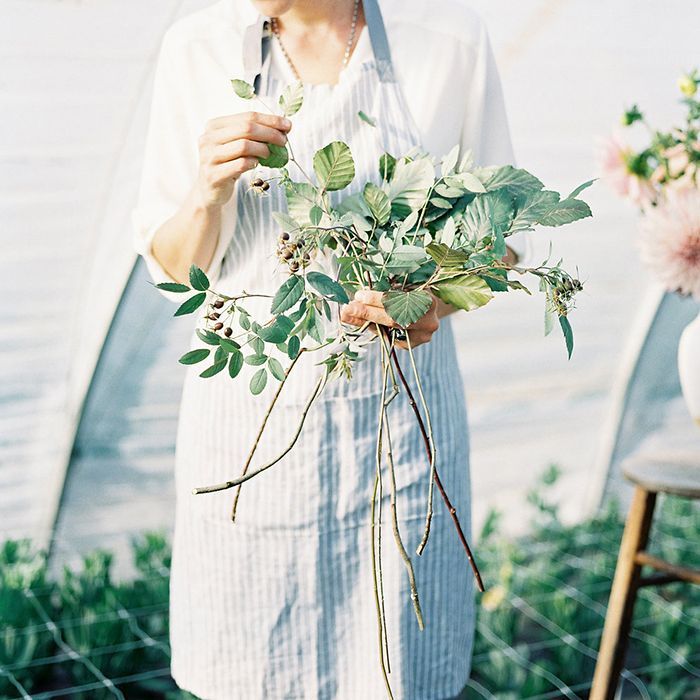
1. Establish shape: To start, choose foliage with sturdy, arching stems in order to create the overall bouquet shape. Take two stems and make an X, and then add in a third stem to create a splayed-out triangle. When holding your bouquet, avoid using a tight grip with your entire fist. Instead, use the tips of your fingers to hold the stems loosely.
2. Build your foundation: Begin layering in supporting greens, echoing the original triangle shape you established at the start. I generally work with one ingredient at a time, evenly spacing each stem around in a circle, working clockwise.
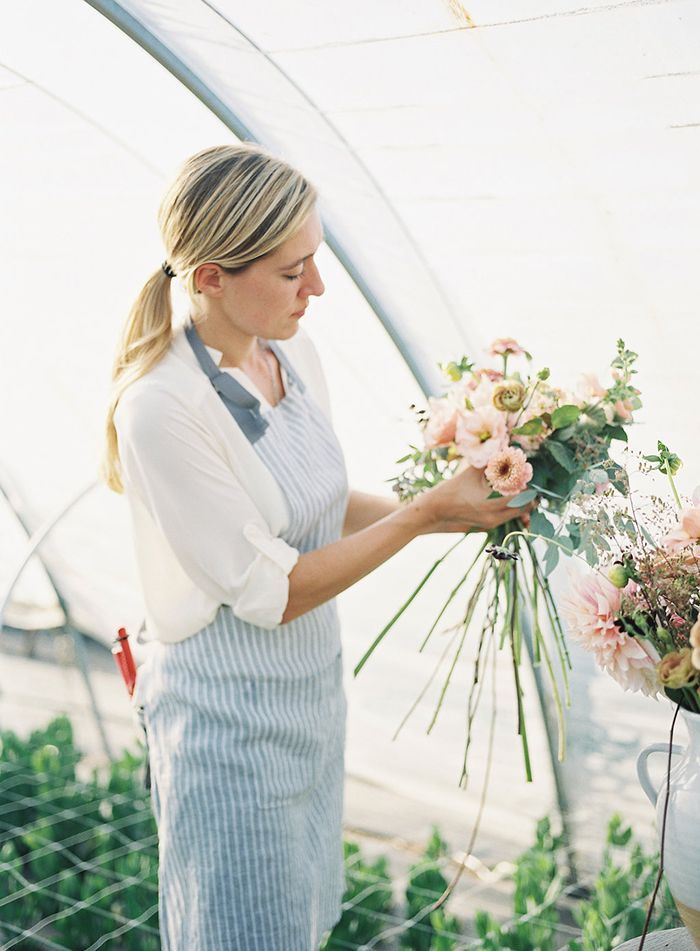
3. Thread in color: Now it’s time to start adding in the flowers. Begin by adding in smaller flowers and work up to the bigger blooms. Be sure to give the flowers “room to breathe.” In other words, don’t try cramming a bunch of flowers into a tight, dense cluster; you want your bouquet to have a light, airy feel to it.

4. Finish with airy accents: After placing all of the primary flowers, weave in any delicate accents, such as grasses, or any frilly or umbel-shaped flowers. These elements should occupy a separate “plane” of the bouquet, which may be slightly higher or extended outward just beyond the larger flowers that form the shape of the bouquet.
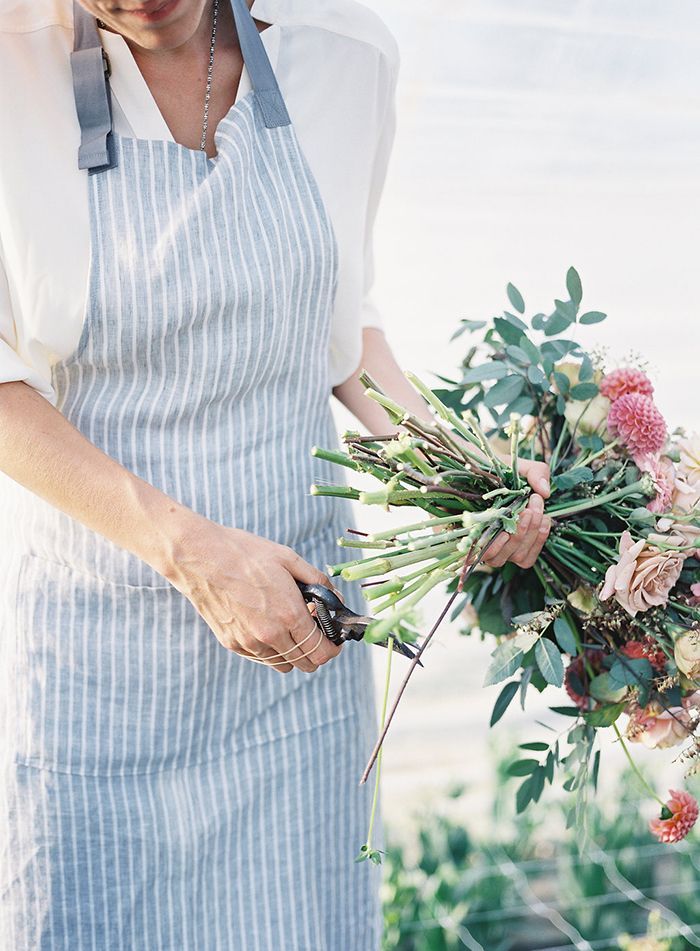
5. Fluff and finish: You may find that you need to raise or lower the flowers in your bouquet in order for it to form the shape you prefer. With a loose grip, gently pull the stems up or down in order to ensure each flower is placed correctly. When finished, use waterproof tape to wrap the bouquet stems followed by a ribbon wrap in a color that complements the flowers. Enjoy your creation!
Flowers: Floret | Photography: Heather Payne Photography | Photo Lab: Richard Photo Lab