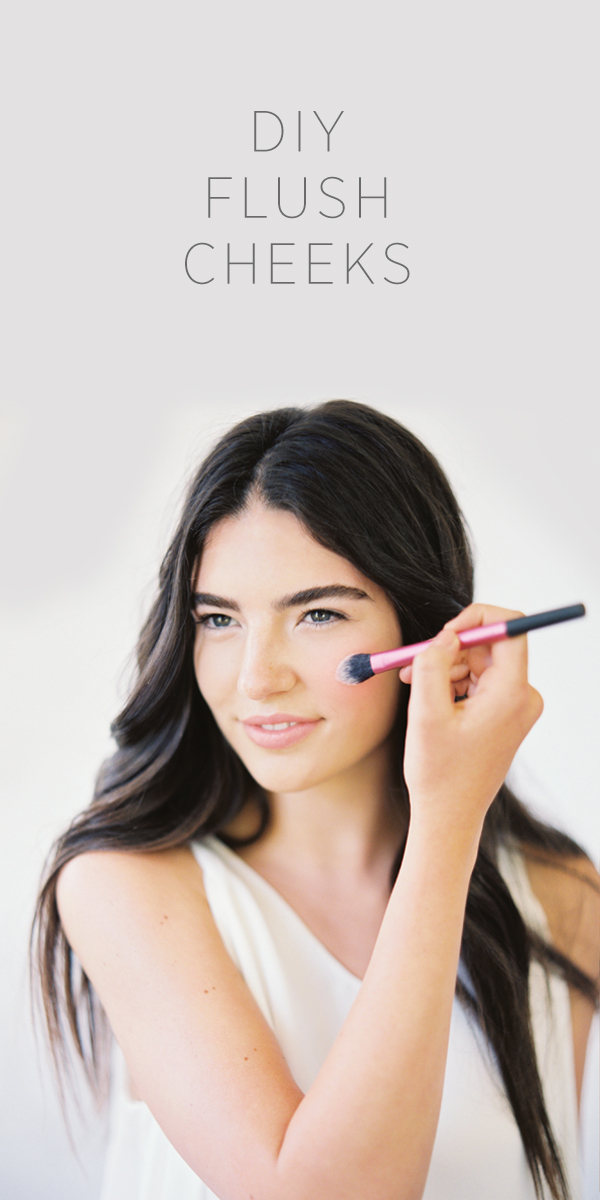
It seems like applying blush should be common sense, but so often we see people who have applied it incorrectly. Mimi & Taylor show us today how to correctly apply blush to the apples of your cheeks to give you the perfect, flushed look. Keep reading for the full tutorial and a couple of tips from Mimi & Taylor on how to find the ideal shade of blush for your skin tone.

 Flush Cheeks
1. Start with an angled blush brush (something not too fluffy which will help you control and contour).
2. Begin by applying blush to the apples of the cheeks and lightly stroking up and outward.
3. Continue applying going sideways horizontally and then slightly down outwards focusing mainly on the apples of the cheeks.
Optional: go over with a larger fluffier brush to blend and soften blush.
Tip: Use pink based blushes for cool skin tones. Use peach/apricot based blushes for warm skin tones.
Tools: Real Techniques brush, Make-up Forever Aqua Crème blush in #9 Coral.
Photography: Erich McVey | Creative Direction and Styling: Emily Newman for Once Wed | Hair and Makeup: Mimi and Taylor | Graphic: Hannah Lee
