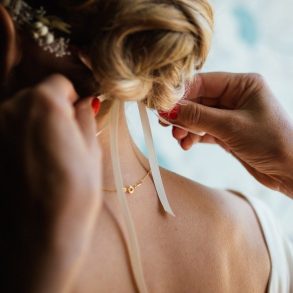

Do you remember Ginny Branch’s amazing 20’s inspired wedding I featured a couple of weeks back on Once Wed? Well, I am thrilled, Haylie, has joined us today to share a DIY project from her wedding. Ginny wanted to give something personal and handmade to each person in her bridal party to show her appreciation and thankfulness for their friendship. She commissioned her friend, Haylie, to create and personalize each of the little figurines above as gifts, and I’m so excited Haylie has joined us today to share more behind her project…
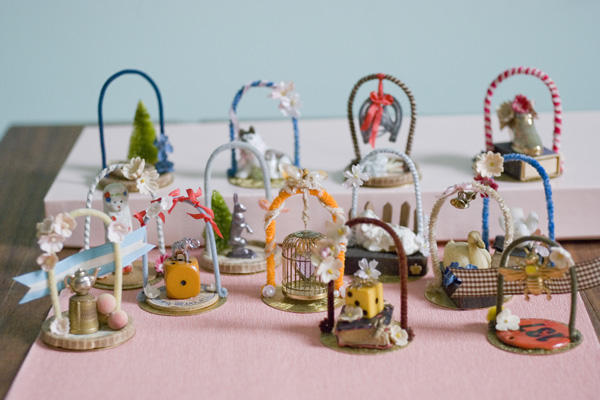
These assembled statuettes can be used as cupcake toppers or given as bride’s maids’ gifts. The figurines are the perfect size to be set on a windowsill to serve as a sweet reminder of your wedding day. The assembled pieces shown here were mostly collected from garage sales and the twenty-five cent bins at a flea market, but one of my favorite places to find miniatures is in the dollhouse section of my nearest craft store. The cake-decorating isle is another great place to look for miniature odds and ends. When given as bridesmaids’ gifts, it can be nice to personalize each statuette by changing the colors or themes to fit each individual.


Materials & Tools
-All purpose clear gel glue, for metals, fabrics, plastics (Beacons fast drying or e-6000 recommended)
-Medium weight florist wire or pipe cleaner, cut to 6.5” pieces
-Found miniature objects: dollhouse accessories, charms, miniatures, small toys sources: craft supply stores, garage sales, flea markets, eBay
-Tiny silk or millinery flowers, sources: craft supply or tinseltrading.com
-Platform pieces approx. 1.5” wide e.g. poker chips, milk caps, dominoes, small match boxes, sources:
-2”Brass discs for base, source: Metaliferous.com
-Skeins of small to medium fly-tying chenille (chenille pipe cleaners can substitute fly tying chenille and florist wire, expect a different look), sources: eBay, flyshack.com, found under body materials
-Wire cutters
-Needle-nose pliers
-Scissors

Step 1- Bend 6.5” wire into an arch, use round object as a guide with approx. 1 to 1.5” diam. and be sure to keep ends even in length
Step 2- Wrap wire with chenille, start by gluing tail of chenille yarn to one end of wire. Work yarn up and around arch and back down to other end, keep coils/ wraps tight and even by twisting like you would a watch knob. When finished cut chenille and tack down the tail end with another dot of glue. Using needle-nose pliers you may want to curl the ends of the arch for a more finished look.
Step 3- Gather items and layout to preferred composition by stacking any number of items. Start with brass disc as base, then a platform piece (poker chip/ domino, miniature book as shown, etc.), a main object (like bird pictured in example), the chenille arch, and decorative flowers to finish.

Steps 4, 5, & 6- Glue in order of layout, starting from the bottom. Hold each object for a few seconds after gluing to help set in place.

Cut off flower heads and glue into desired positions to finish the statuette.
Project created by Haylie Bird Waring