DIY Paper Flowers
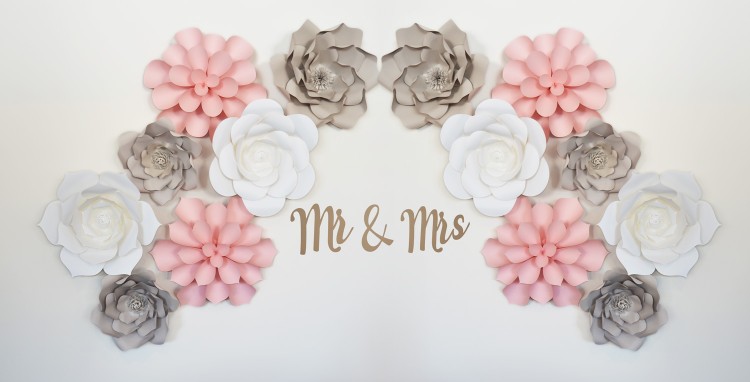
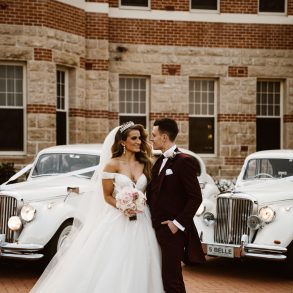
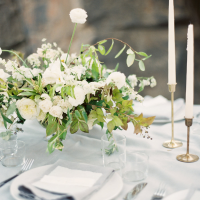
Everyone wants their wedding to look like a million dollars, but most don’t have the budget to do so. These paper flowers create a big but inexpensive statement piece that is versatile, easy and fun to make, and are sure to wow your guests. Creating these beautiful flowers will be the perfect addition to your special day.
Supplies Needed:
- 8”x 11” cardstock paper
- Scissors
- Glue gun
- Wooden dowel
- Pencil
Getting Started:
I like to use 65lb weight cardstock. It holds its shape well without being too heavy and hard to cut. You can find this cardstock almost anywhere. The hardest part will be choosing what color to go with.
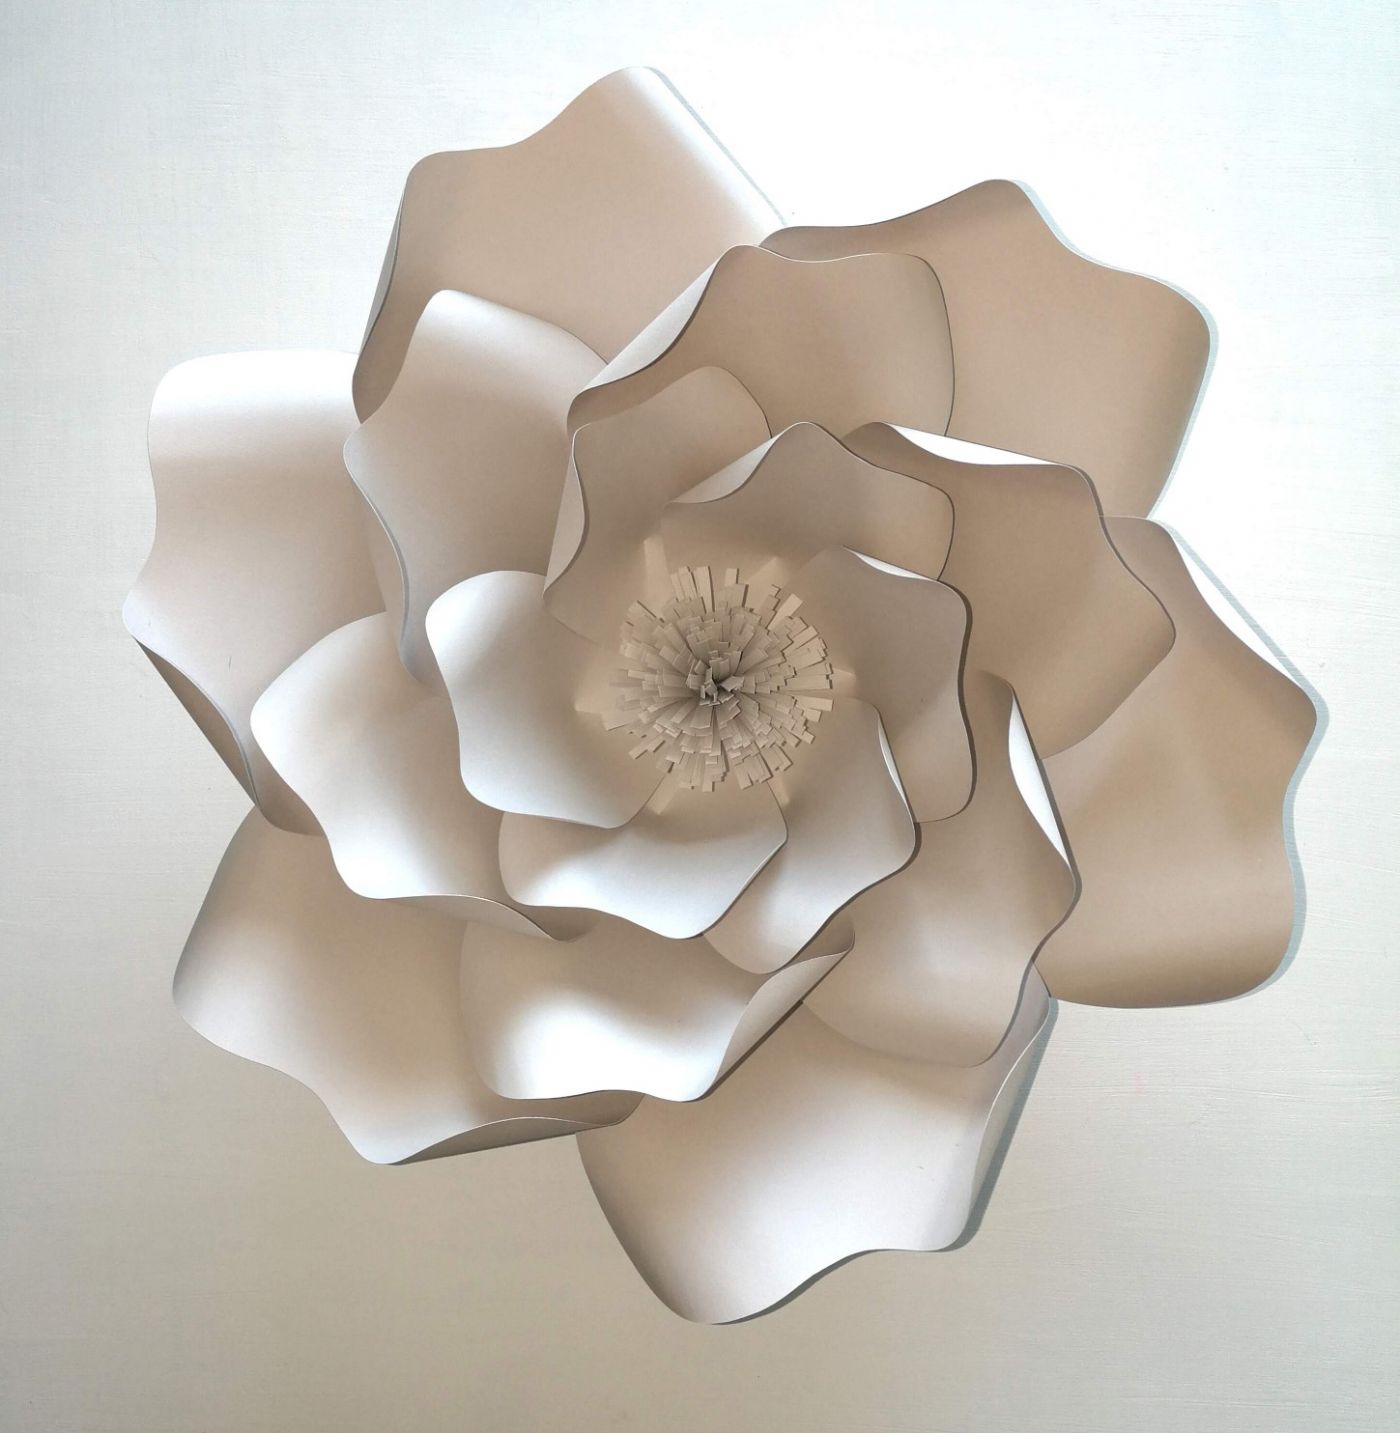
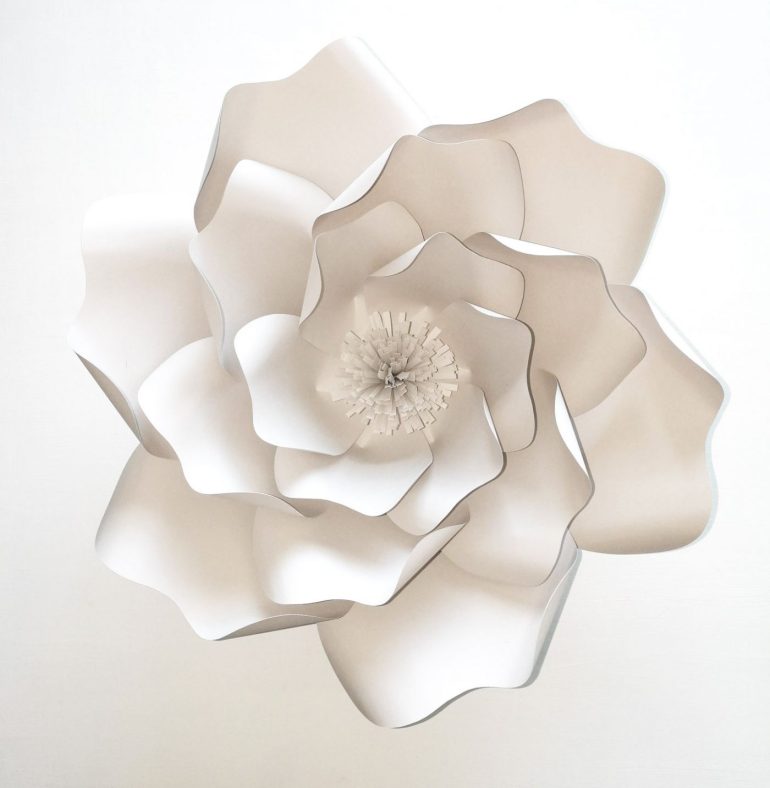
You will first need to find a template of a petal you like, there are lots of free templates on the internet. Trace and cut the petal for the largest petal you want to make and then make each layer about 1 ½” smaller.
For making a 14” in diameter flower, you will want to cut the outside layer about 8” tall. The width can be flexible depending on the style of flower you want to make. Your next layer will be 6.5”, and the last layer will be 5”. You will need to cut 6 petals for each layer. I also like to cut an approximate 4” hexagon shape to help keep the petals even and centered.
Now that you have all your petals cut you will want to cut an approximate 2-inch slit in the middle on the bottom of each petal. You can stack all six petals and cut. You will then take the wooden dowel and roll it around one side of the petal. After you have curled the one side you want to do the same to the other side but in the opposite direction.
You can continue to do the same to the following layers. Next, you will take your glue gun and add a small line of glue on one of the sides of the slit and fold the other side over to create a bit of a lift in the petal.
Continue to do this to the rest of the petals. You are then ready to take your hexagon shape and glue a small line at the bottom underside of the petal and place onto your hexagon piece. Continue with each petal layering it just slightly on top of the previous petal until you have all six done.
You will continue the next layer and glue in the middle of the previous 2 petals until all the petals are done. You will then finish with your last layer starting again in the middle of the 2 previous petals until they are all done.
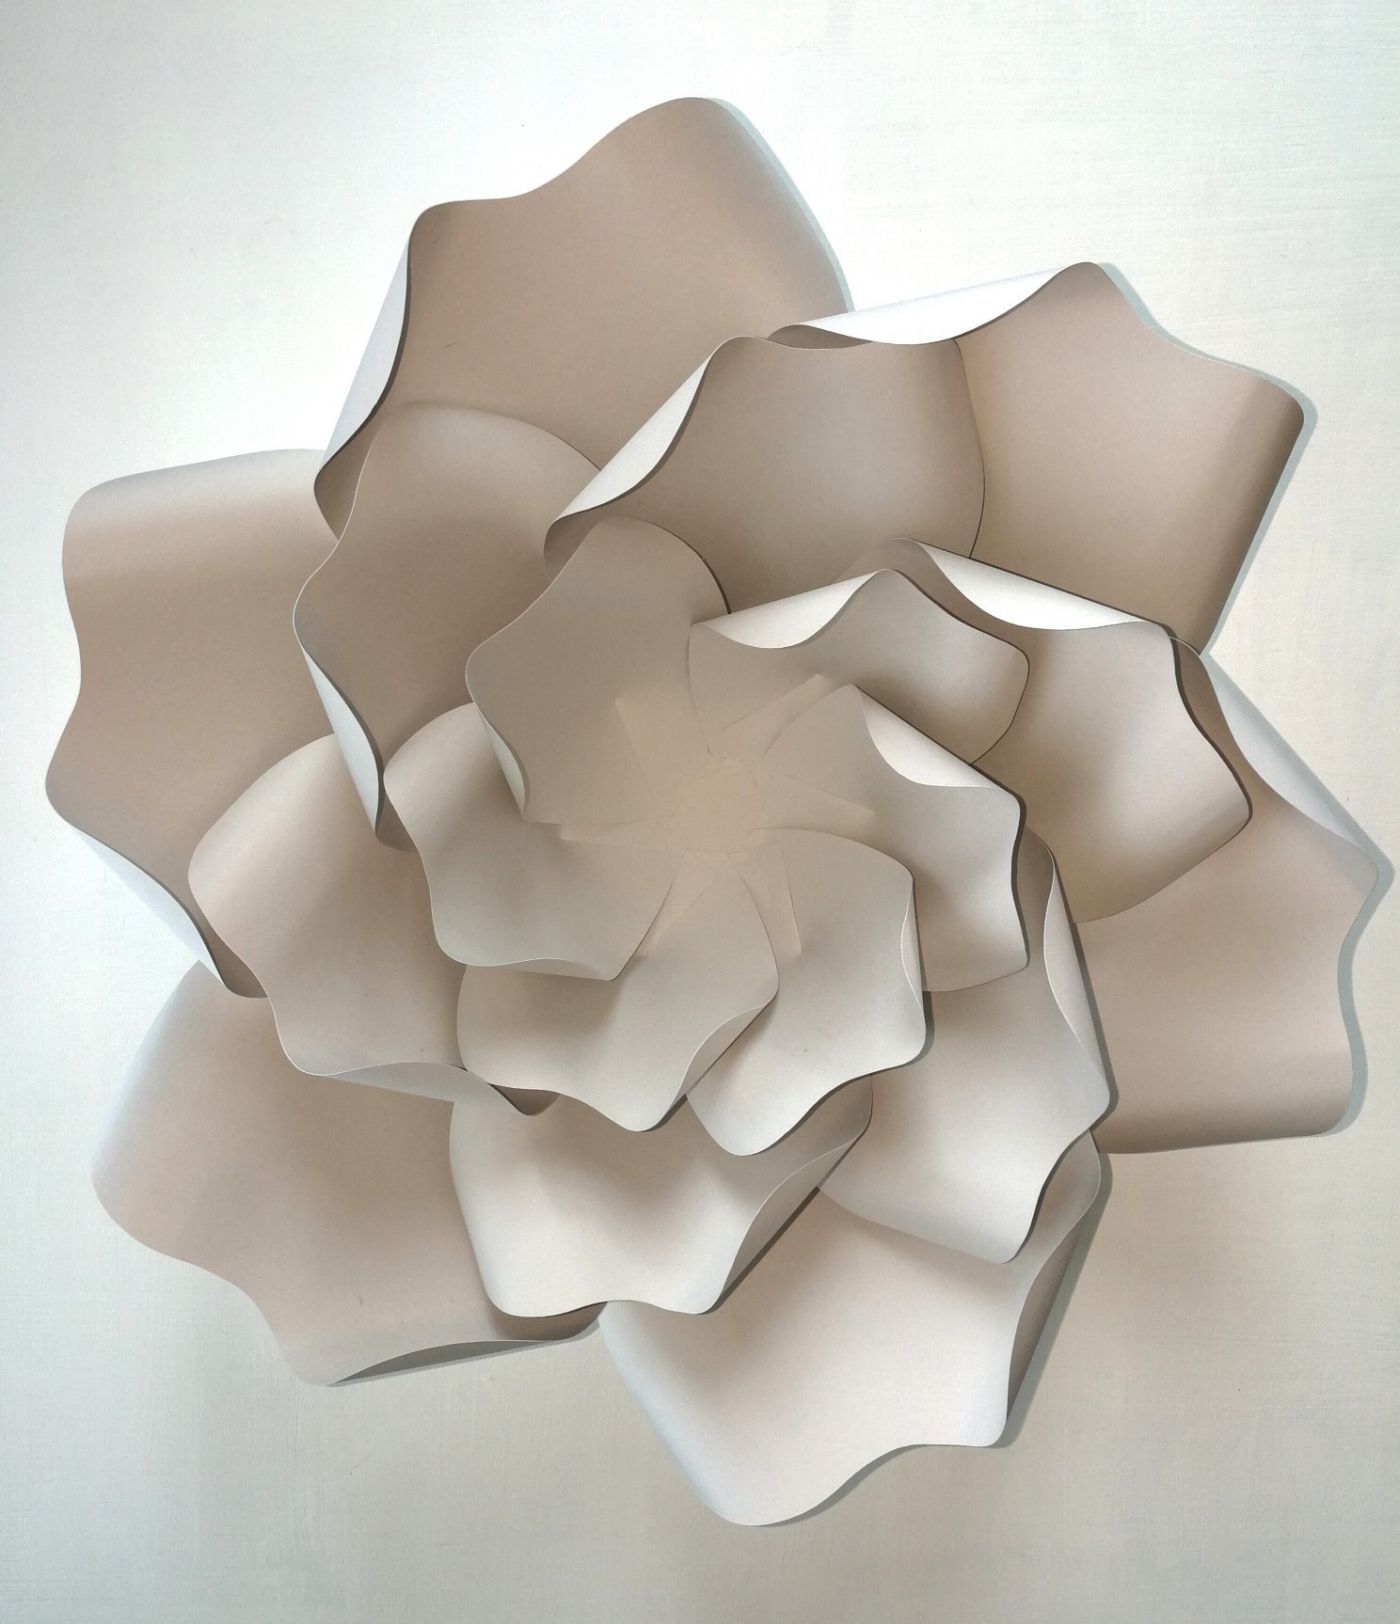
To complete your flower you will need to make the center. You will take an 8”x11” paper and fold in half and cut along the crease. You will then fold each half piece in half again and cut until you will have 4 equal pieces. For each piece, you will want to cut a fringe without cutting all the way through.
You will then want to glue 2 pieces together and again with the last 2. You can start rolling up the paper until you have a small center. You will then take the next piece and glue around to keep building the size of the center. Once you have your center finished you can gently push down on the edges to fan them out.
You can then place some glue to the bottom of the center and place in the middle of the flower. Your flower is now complete! You can do more of the same style and different sizes or change up the petal design and follow the same steps to make as many different flowers as you want to make a big statement piece.