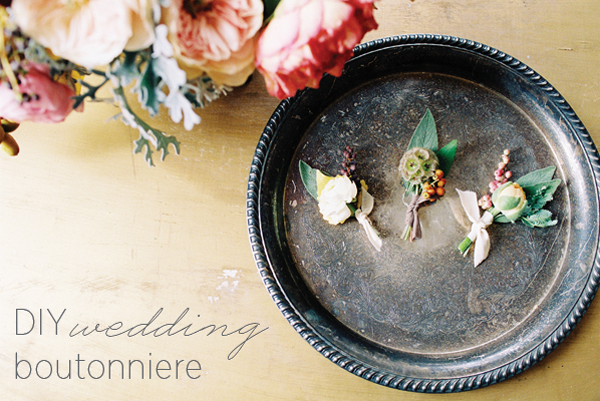
When making a boutonnière it’s important to consider the ingredients you will use. Depending on the aesthetic of the wedding and the grooms attire, the boutonnière should be a nice compliment and accent to the other existing elements.
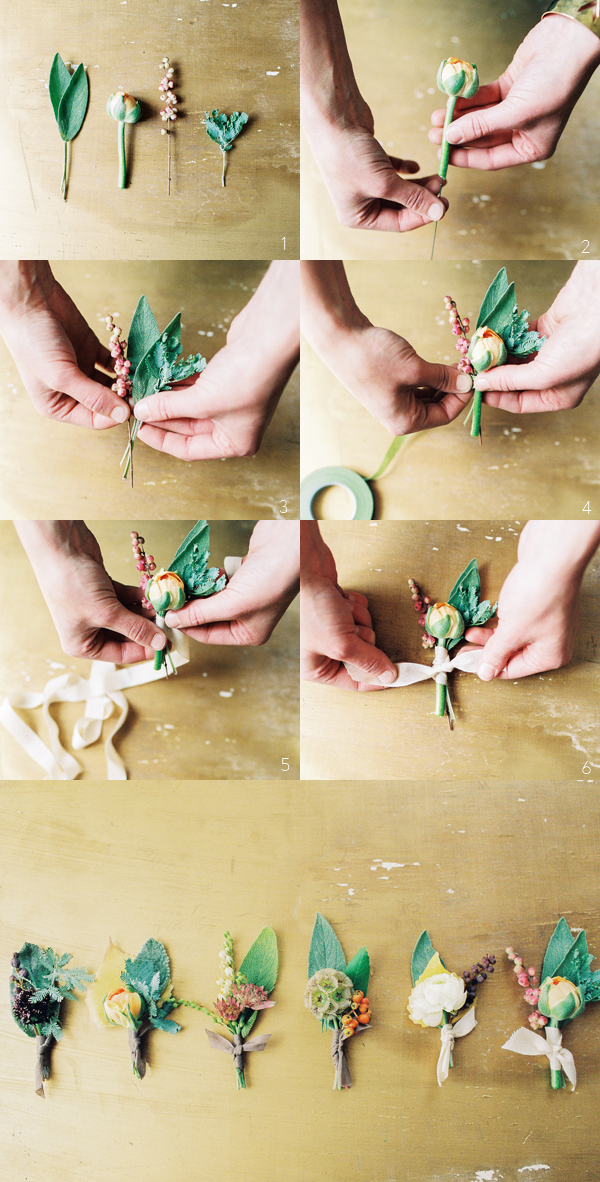
Step 1: Gather your ingredients. A good rule of thumb is to have at least four textures encompassing three elements, the backing, the texture and the focal flower. For this boutonnière, sage was used as the back leaf, snowberry and acacia for the texture and ranunculus for the focal flower.
2. Prepare your focal flower. The focal flower needs to stay strong throughout a day filled with pictures and a night of dancing. For a flower like ranunculus, wire the stem by inserting the wire straight up through until it pokes just barely into the head of the flower. Trim your wire to the length of the stem.
3. Place your back leaves together to start making a miniature bouquet. Place the textured elements on next and stagger them a bit so everything isn’t at the same height.

4. Next place your focal flower in the center and use floral tape to tightly wrap the ingredients together. Leave the bottom of the stems exposed by just wrapping the tape about three times tightly and tear off the excess.
5. Pick a nice neutral ribbon. There are lovely silk or organic cotton ribbons to choose from. Tie a simple knot and trim off the edges. You can also wrap and hot glue the ends to the back to have a clean and simple look.
Photography: D’Arcy Benincosa Photography | Flowers and Tutorial: Tinge Floral