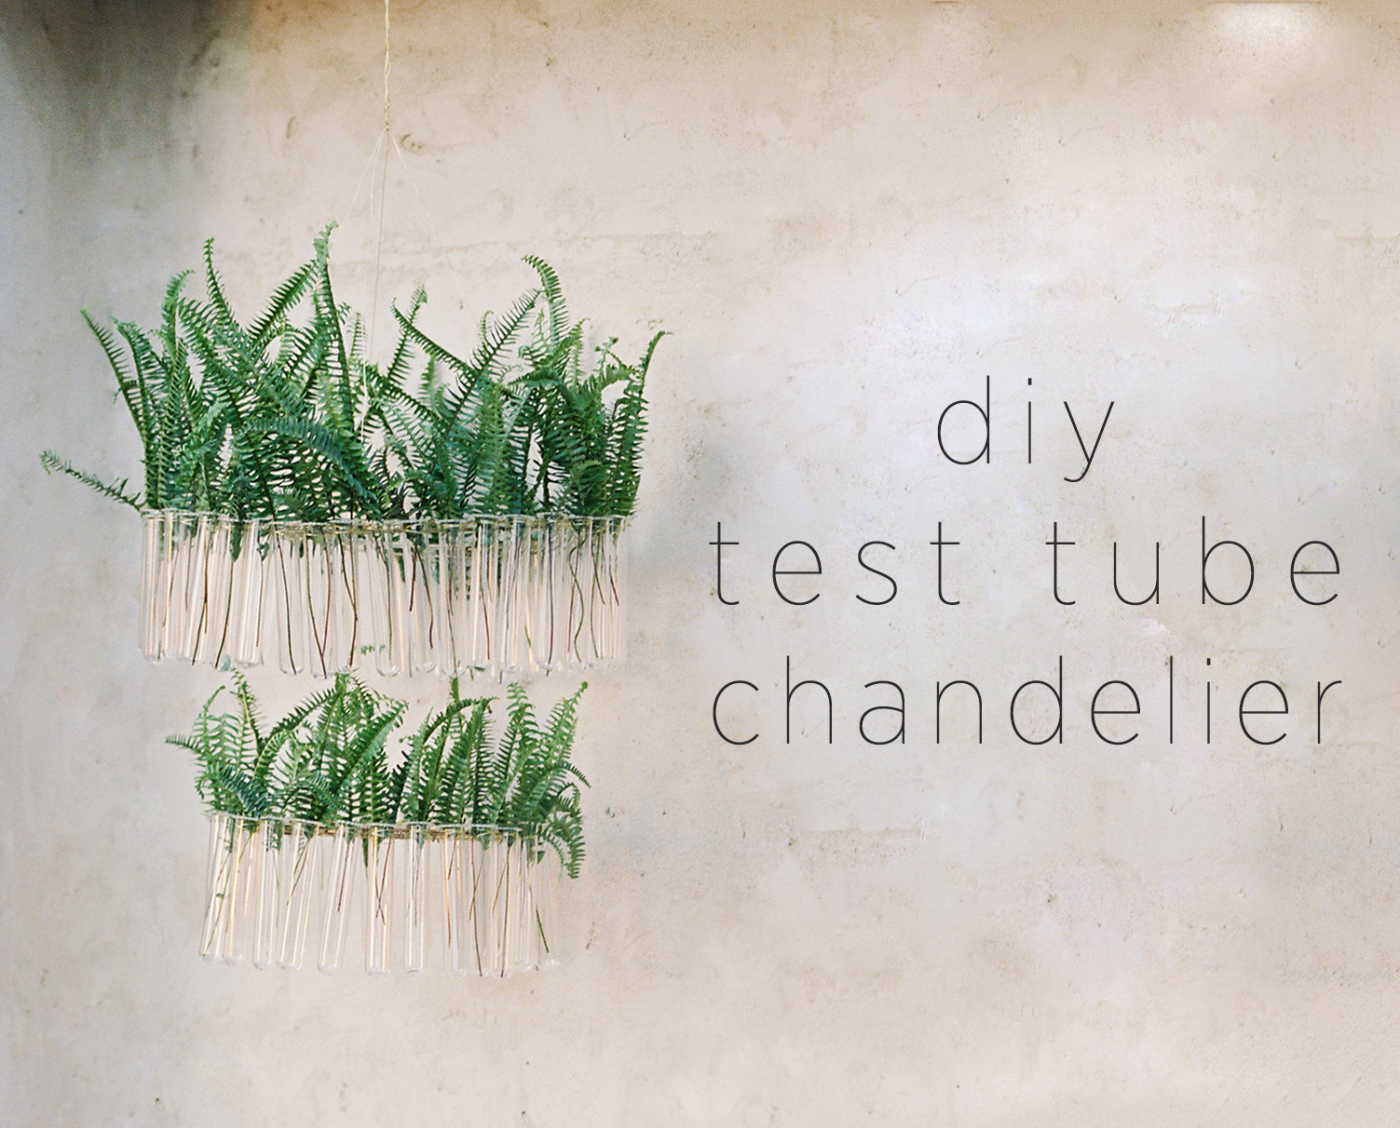
It’s always so fun when Kelly Perry sends us awesome DIY projects, and this adorable DIY Test Tube Chandelier would be the perfect addition to any wedding. The great thing about this DIY is that you can take it home and display it after the wedding! Keep reading for the full step-by-step.
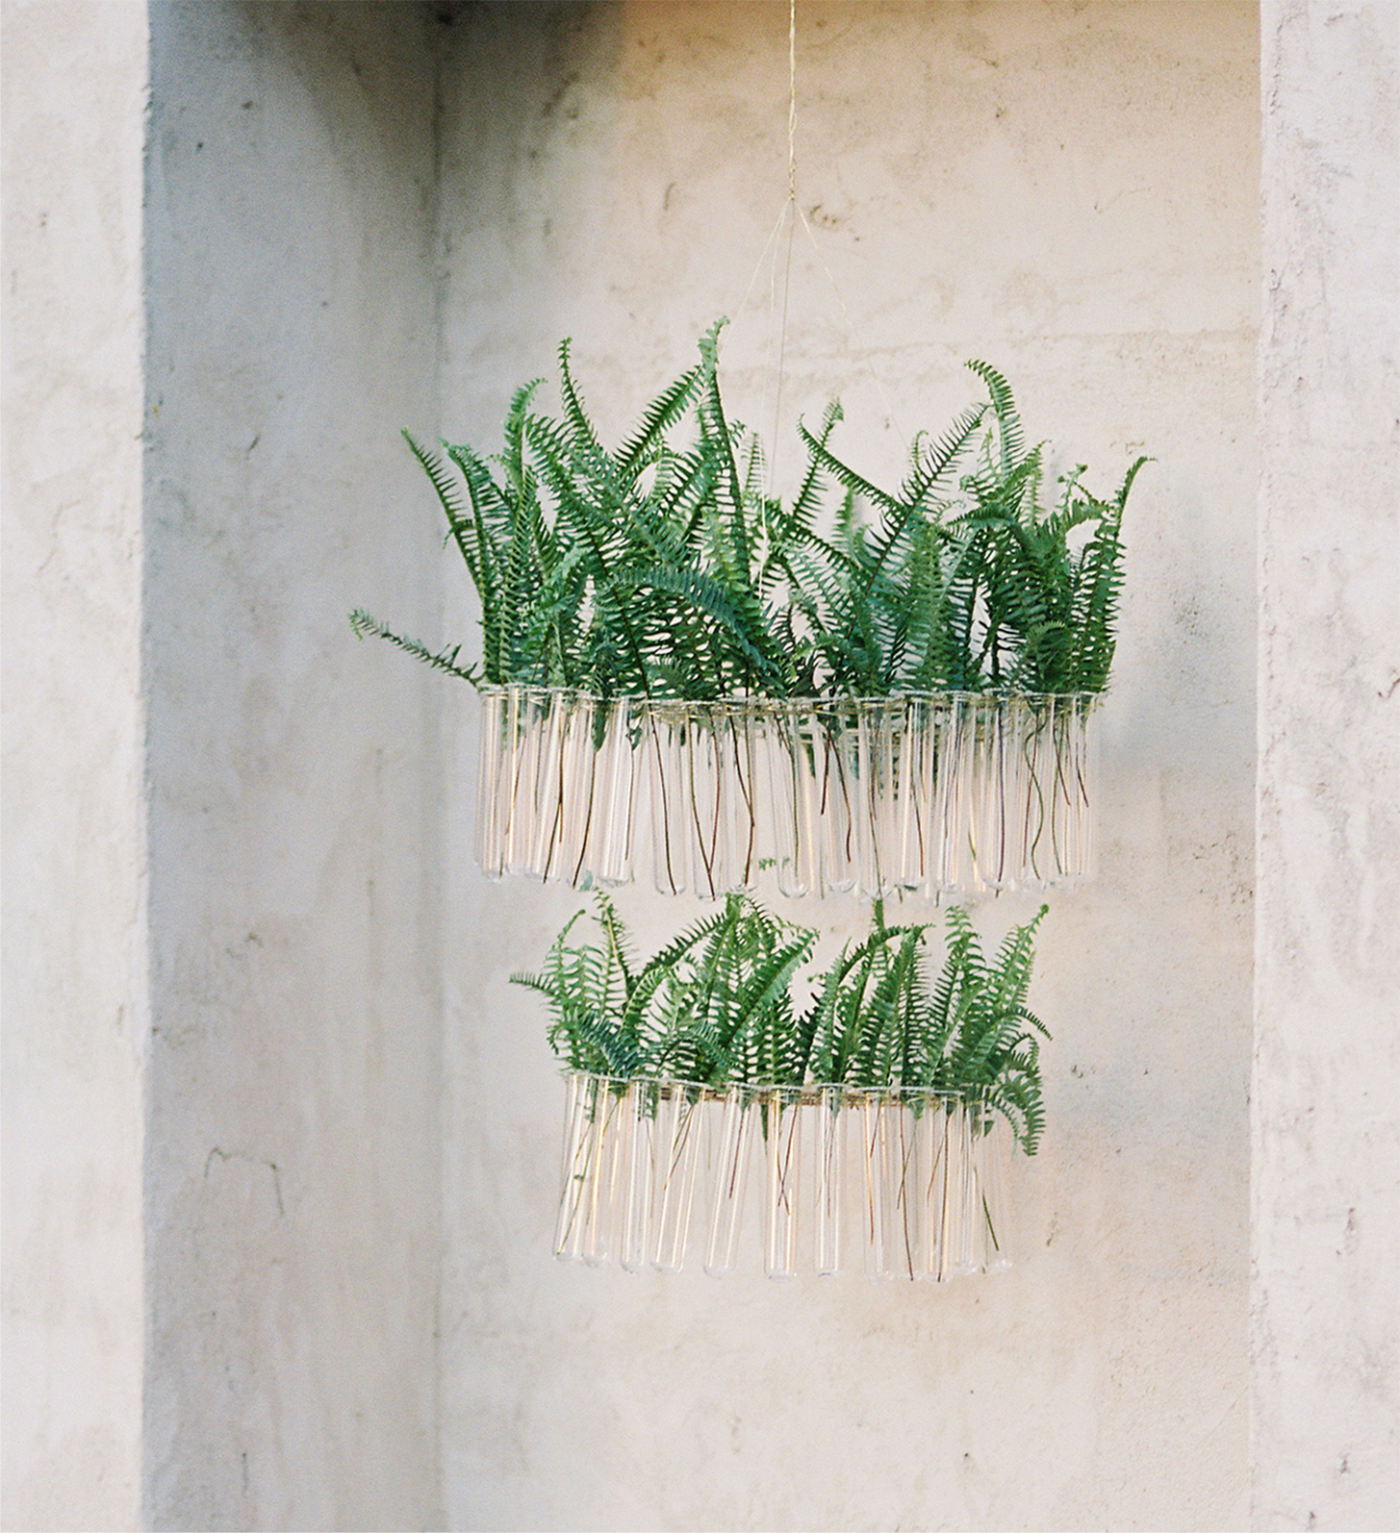

This DIY Test Tube Chandelier would be perfect for over a desert table, or even just in any undecorated nooks around your venue. After you try it out, let us know how you used it!
The full tutorial is below.
Materials:
– 65 Test Tubes (25 for bottom, 40 for top)
– Gold Wire (heavier gauge is preferable)
– Wire Cutters
– Gold Spray Paint
– 12” and 18” Wreath Form
Instructions:
1. Spray paint wreath forms gold and put aside to dry
2. Cut gold wire as follows: Seventy 10” pieces, three 15” pieces and four 25” pieces
3. Take 10” piece of wire and wrap around test tube in an “X” shape, twisting the ends together to form a tight cage for the test tube to rest inside
4. Attach wire to wreath form in a “W” shape
5. Repeat with all test tubes
6. Using the 15” pieces, and with the help of a friend, attach the upper and lower forms together. Be mindful of wrapping and overlapping to create a sturdy tie
7. Attach the 25″ pieces to the largest piece and anchor on four corners, bringing each wire to center and twisting them around one another to form a cord of wire. Depending on where the piece will be hung, you may wrap the excess wire into the shape of a circle so it can be hung on a hook
DIY: Kelly Perry of Philosophy Flowers | Photography: Heather Payne Photography | Location: River Oaks Charleston