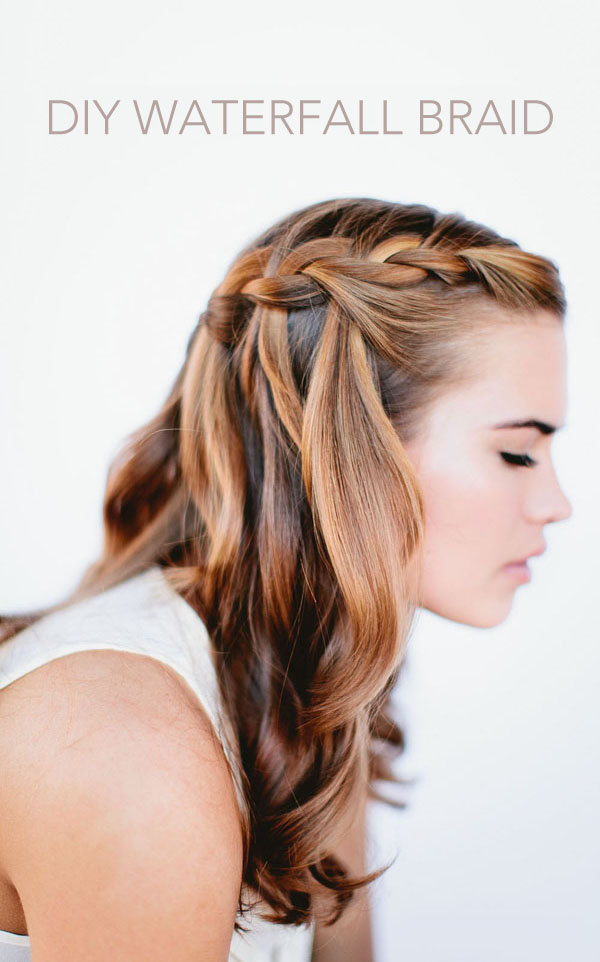

I’m so excited about today’s post. A trio of talented ladies in Los Angeles recently teamed together on a braid how-to series just for Once Wed, which I’ll be sharing over the next month. The first tutorial is a how to for a waterfall braid. I’ve seen this style floating around Pinterest for a while, but haven’t found a great tutorial laying out all the steps for a waterfall braid. And who better to show us than braider extraordinaire, Alison Brislin?

Waterfall Braid Instructions
1. Part hair on it’s natural side.
2. Grab a small piece and divide into 3 sections.
3.French braid for 2-3 inches. This will secure the “waterfall” and make sure it doesn’t fall in your face.
4. After you’ve French braided for a few inches, drop the top section of your braid. It’s ok. Let it fall.
5. Pick up a new section of hair from directly behind where you’ve dropped the top piece. This new piece acts as a new section of your French braid
6. Keep moving around the head. Remember, every time you grab a section of hair from the top of your head to add to the braid, let is drop and replace it with a new section.
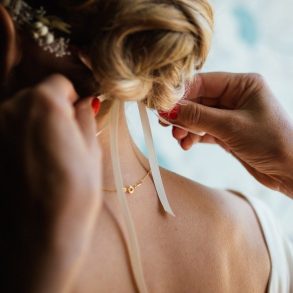
7 +8. When you reach the other side of your head, secure the end of the braid with Bobbi pins.
*This braid can be a little tricky. But practice makes perfect.

Extra Tips
– You should brush your hair before braiding. Knots and tangles make it hard for the person braiding your hair. Might also hurt a little bit!
– Part on your natural side. Adjust instructions according to your part.
– Day old hair is best. A little grit is good for braids as they hold-up better. Clean hair is too slippery.
– These tutorials are written for someone to braid your hair, not intended for self-braiders. Unless you are really clever and talented!
Photography: Jesse of Our Labor of Love // Hair: Alison Brislin // Makeup: Kelly Shew