
Narrow Your Search
View All Categories
Gorgeous Gowns Ready to Wear
Featured
Reduced
Sold
Just Listed


Buy or Sell Your Wedding Dress With Confidence
Secure
We manage payments, provide a secure messaging platform, and ensure everyone is happy.
Affordable
By connecting dress buyers and sellers, we help both save money along the way.
Stress-free
Love your dress, skip the stress. If something goes wrong, we’re here to help.
Sustainable
Finding new homes for beautiful wedding dresses sustainably since 2004!
Shop Today’s Best Brands & Designers
View All Brands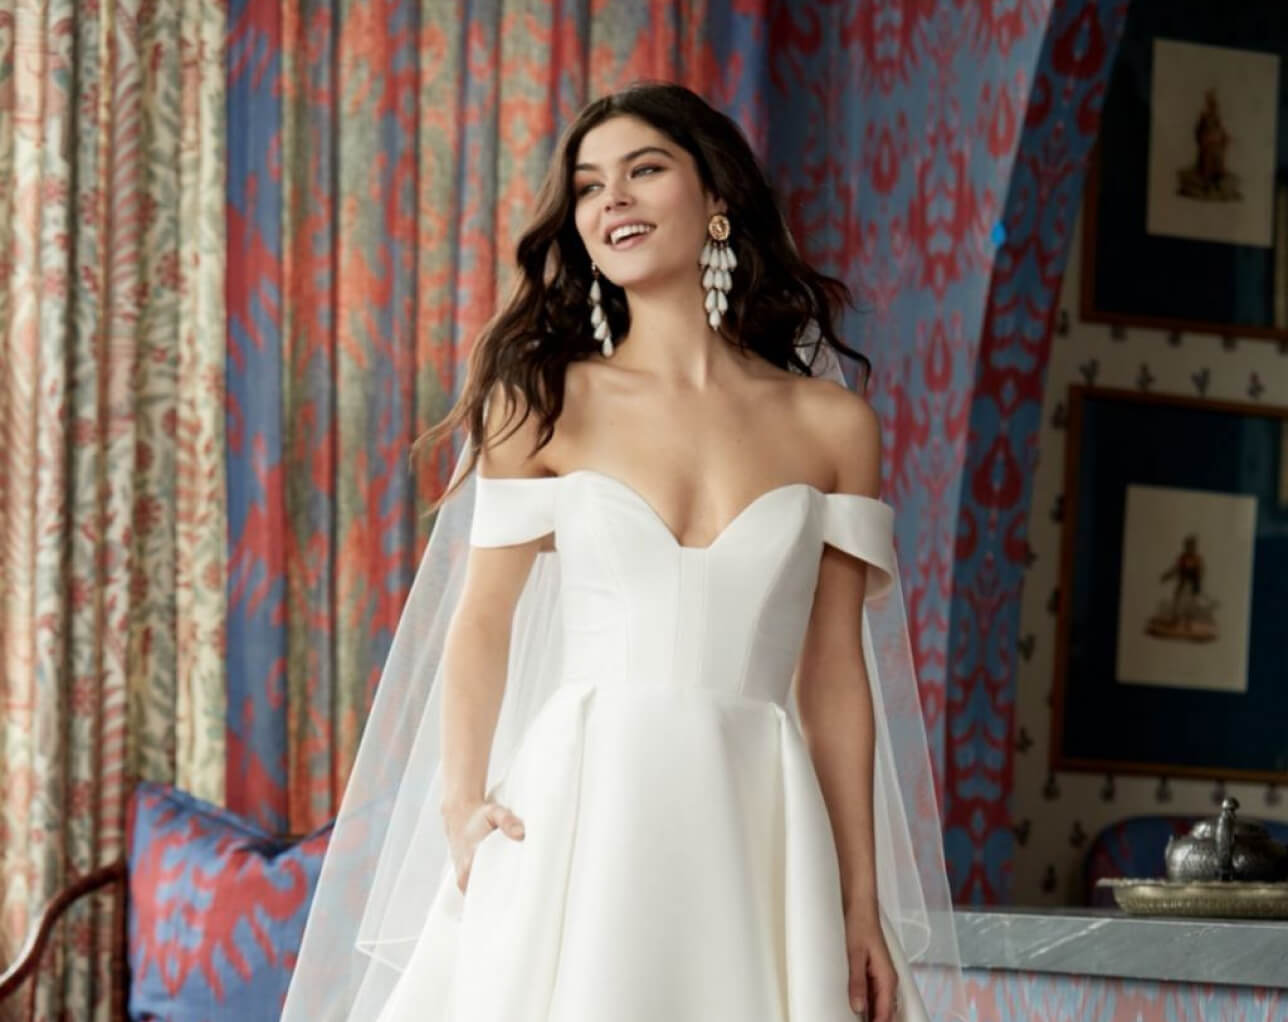

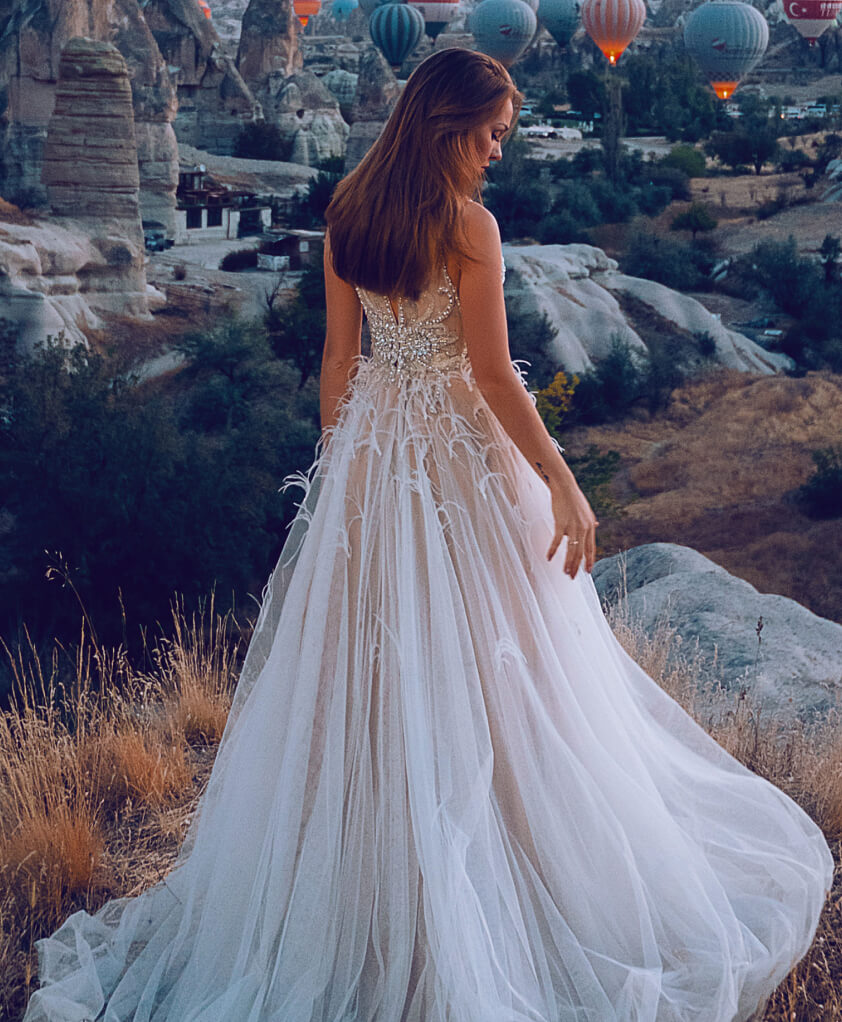


Ready to
Sell Your Dress?
Our specialty is connecting brides with dresses. Whether you have a single dress to sell, or run a salon and have a whole lot, we make it easy to join our marketplace and get your dress live for the world to find!
Professional sell or bridal salon?
Click here.

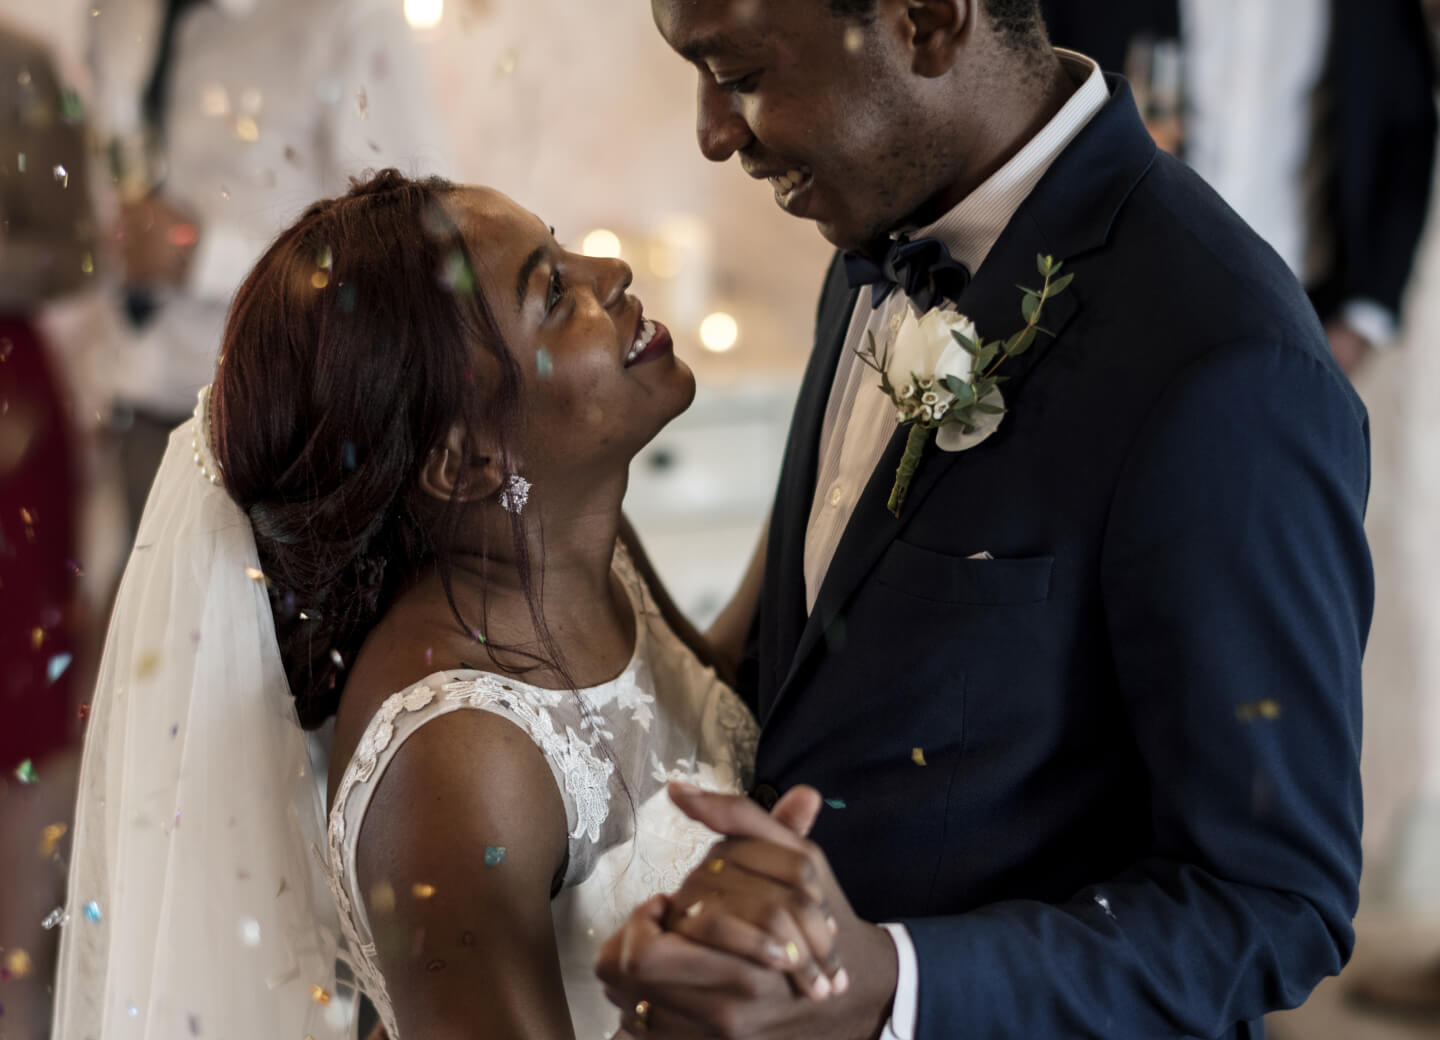
Get Inspired
See all our inspiring bridal content. Visit the Blog.

Get Inspired
See all our inspiring bridal content. Visit the Blog.
As Seen On...